After some more time with the Uberti 1861 Navy in 36 caliber I’ve learned a few things that will enhance the overall experience. While my experiences are limited to the ’61 Navy there are enough similarities with other pistols to warrant more of an overview.
Before I got into cap and ball revolvers I had some reservations. There are a lot of accouterments that go along with black powder firearms. Some you need, some are nice to have, and then there’s everything else. Well, you need caps. You need the right size caps. And the right size caps for my ’61 Navy, Remington #10s, are understandably very popular, thus not available all the time. Read about any cap and ball revolvers which fire a 36 caliber projectile and you will likely find a recommendation for Remington #10s. I found even before I bought my revolver that the caps I would likely need are in short supply. The only locally sourced Remington #10s were given to me by a coworker. They exist online at a high price of $6/100 not including a ridiculous $28 Hazmat charge and whatever shipping and taxes are left to be included. That left me with CCI #11s, which must be pinched to fit the nipples on my cylinder. No biggie. They go bang and function fine. But then that supply dried up. I lucked into a local source for CCI #10s, however, they are slightly smaller in diameter than their Remington counterpart. I found that using the CCI #10 cap required a hammer strike to fully seat the cap before it would fire on the second, but sometimes required a third strike.

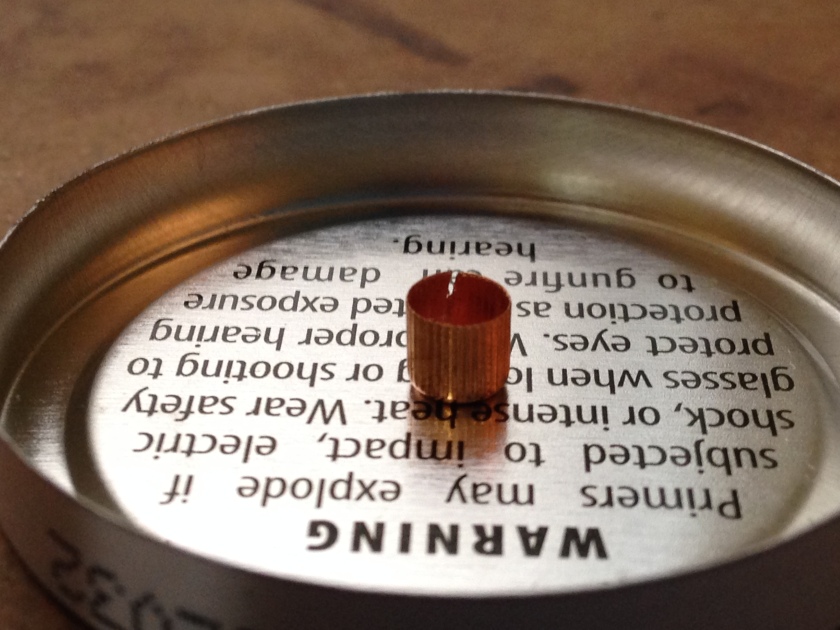
The solution came in the form of some pliers. I figured if I could enlarge the skirt of the cap just slightly then it might be enough to fully seat over the nipple and provide reliable ignition of the powder. I set about making small cuts into the cap skirt for a tin of 100 as shown below. The cut does not need to be completely through the copper. It just needs to weaken the wall enough to allow it to stretch when pushed over the nipple so that it fully seats with finger pressure. I went out and tried the “cut caps,” as I call them, over several cylinders and did not have one cap related failure. As an aside I found the cut caps to be more resistant to falling off the nipple after firing which can result in immediate cap jams. Compared with Remington #10s I can’t distinguish a difference in performance. They work that well!
Then there is the issue of lubing the chambers. First off, get the idea out of your head that lube from six chambers will lubricate six balls down the bore. The first shot will typically knock whatever lube exists in adjacent chambers free from the cylinder. What residual lube exists will likely flow into the various crevices and moving parts on the revolver, including your hand. If it is warmer than 60 degrees outside use lube sparingly. I’ve been using Thompson Center’s Bore Butter and it is great at keeping fouling down and moving parts moving. But it flows like hot bacon grease in warm temperatures. Feel free to use a liberal amount in the dead of winter. But its not necessary. I will generally lube a cylinder when I begin shooting but not again until 30 rounds later. If anything that speaks to the efficiency of the product I used but I would imagine most black powder lubes could be utilized in the same fashion without undue fouling.

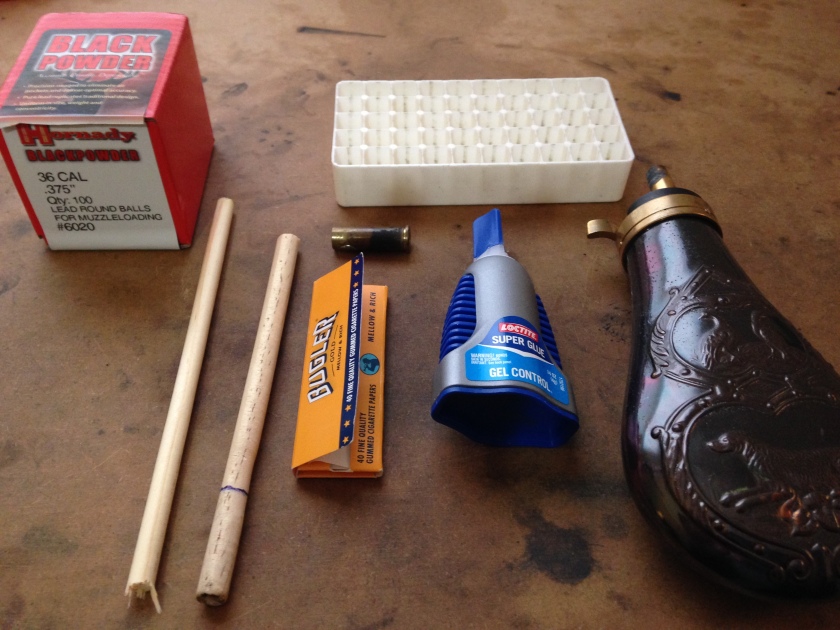
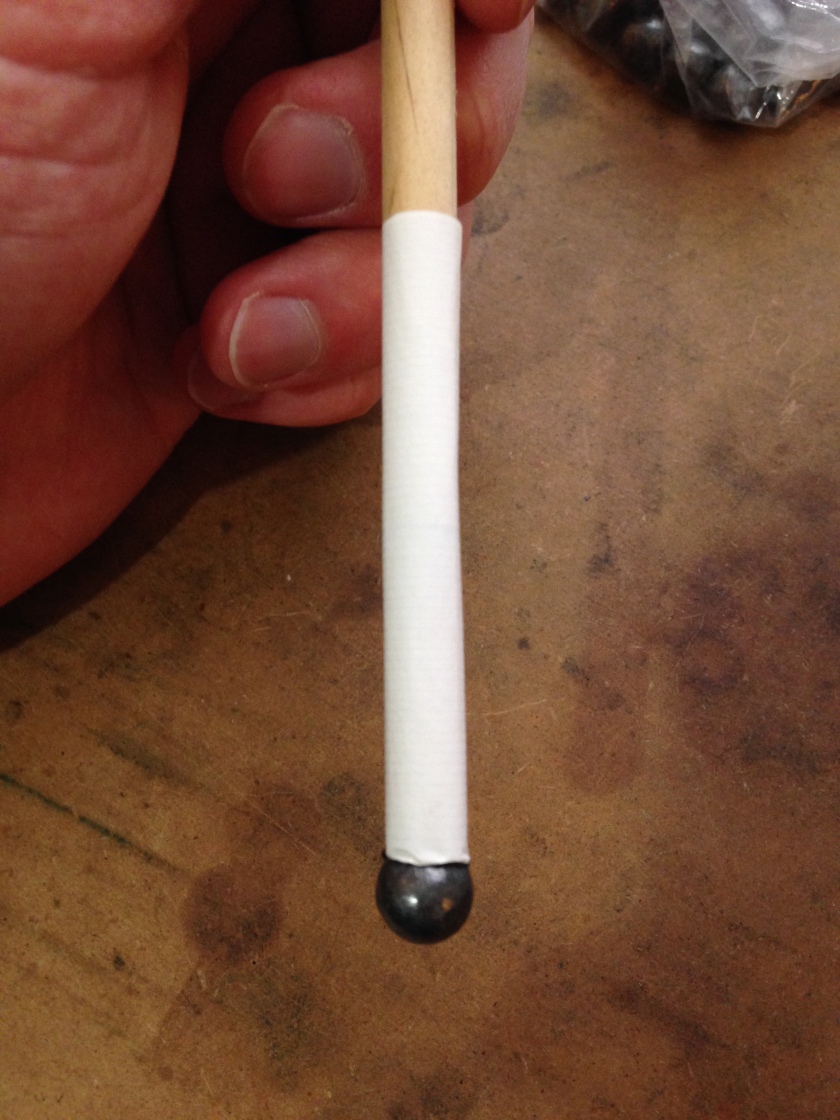
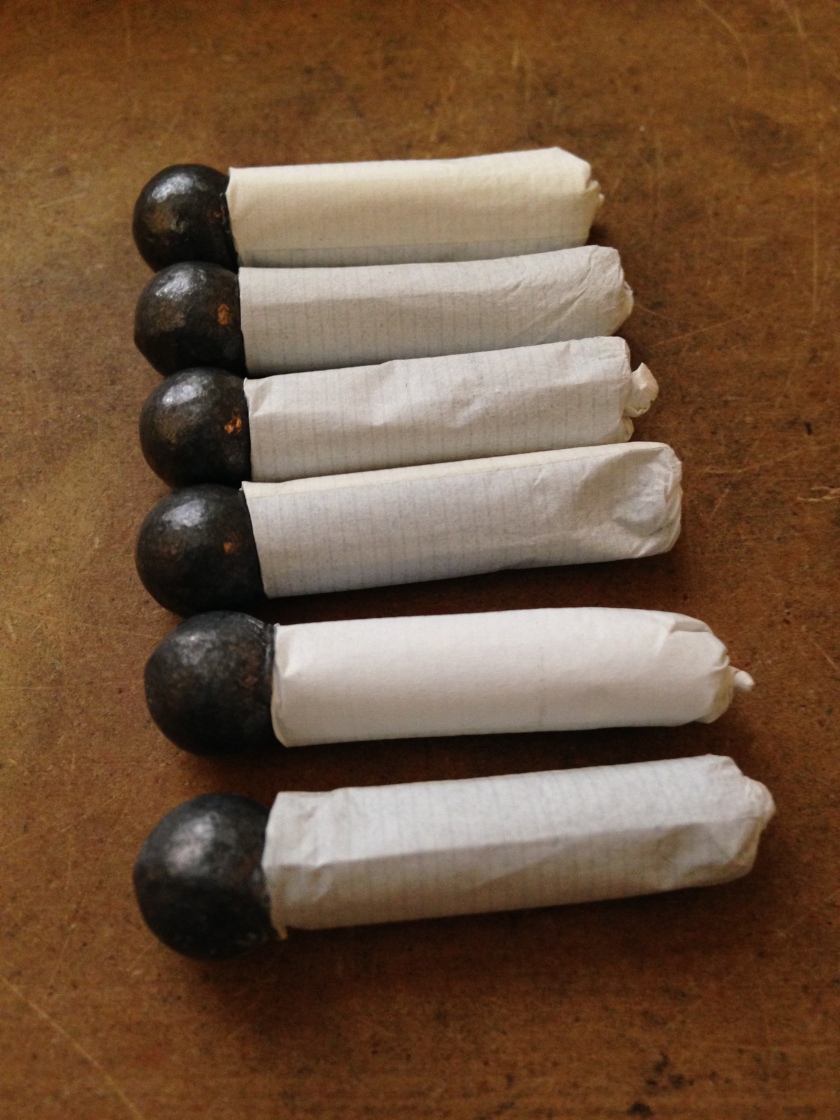
I also played around with paper cartridges. From what I’ve read, most original paper cartridges used nitrated paper. As I understand you can manufacture the same product by soaking paper in an aqueous solution of sulfuric and nitric acid. While this results in an almost instantaneous combustible paper it is also time consuming and not much benefit to the recreational shooter. I chose to go with regular cigarette rolling papers for my cartridge project. Since my revolver uses .375” balls I selected a .350” wooden dowel from Home Depot to use as a cartridge rolling mandrel. Fine sand paper was used to round the sharp edge off the end to be used for gluing ball with case. I also selected a slightly smaller in diameter dowel to act as a powder tamp after charging a cartridge. Making your own paper cartridges is straightforward and the extra materials only cost me $11. Begin by rolling the paper around the mandrel as if you were rolling a cigarette. Lick the adhesive on one end and secure it to the outer edge of the paper, being sure that the paper tube slides easily on the mandrel. With the tube glued in place, slide it off the mandrel about .25” to make one end. Fold over the paper and flatten out on a smooth surface using the dowel to reinforce the fold. At this point I add a pin sized dab of super glue and press in a .375” ball. I like to hold the ball to the paper for 20 seconds to give it a good initial seal. I then back the dowel out of the paper another two millimeters and press the ball on the paper further to create a sort of neck around the ball. By pressing the ball into this excess paper, the glue has more surface area to bind paper and ball together. After another 20 seconds I place the cartridge, ball down, into a 9mm Luger ammunition tray.

I then dispense powder from a flask into a 32-20 case (which gives me roughly 17 grains of powder), and from the case into the paper cartridge. I use the smaller dowel to tamp the powder to ensure there are no voids in the paper. All that is left is to twist the excess paper so that it forms tightly to the powder charge and cut the excess paper away. I like to leave a small nub of paper that can be pressed against the base of the cartridge. If you cut it too close the paper will unravel and spill the powder.

My paper cartridges were almost fool proof. I did have one round that failed to ignite with three caps. I solved that problem by using an unfolded staple (any small wire like a twist tie would work) to prick the paper. The next cap ignited the charge without further effort. As interesting as paper cartridges look they did not shave a whole lot of time off the reloading process for me. It’s nice to be able to shove a cartridge into a chamber, whether it be from the front or rear of the cylinder. And although it is a little bit faster, I’ve become pretty proficient at loading powder and ball. The step which can still prove frustrating is maneuvering that little cap onto that little nipple. I meant to get a capper but never got around to it. Now that my cut caps have proved reliable and the paper cartridge shows promise, I may get one.
